List views in 25Live are laid out in a table of events, resources, locations, or other objects and can be accessed from three main areas: a specific object details page, search results, or the 25Live More menu. These views are great for sorting data and getting an overview of the similarities and differences between events or objects.
Each list functions in nearly the same way, with a few differences.
List Types
Default List
You can get to the default List by selecting List from the More menu in the top navigation bar.
This view is populated with saved searches. If no search is selected, the view will use a starred object search. Once a search is selected, the list will show all of the events from that search that take place within the selected date range.
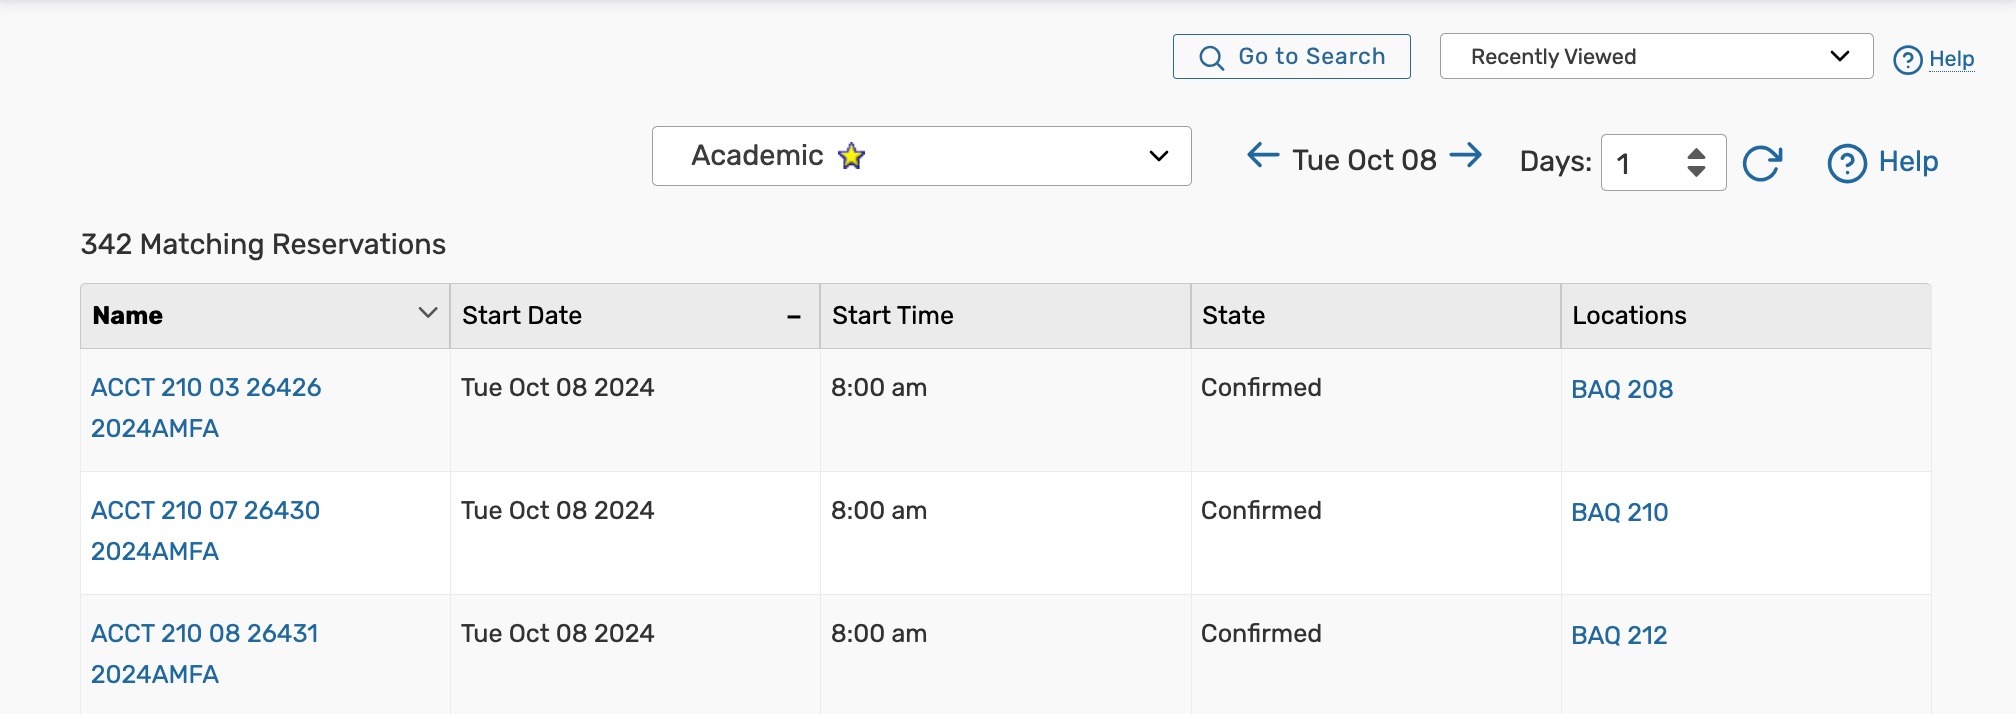 Image: In this example, the List view shows 342 reservations returned from a starred event search named "Academic", that take place on October 8th.
Object List
Object List views are available through an object's (location, resource, event, etc.) details page. This view populates a list of events that fall within a specific date range and have that specific object attached.
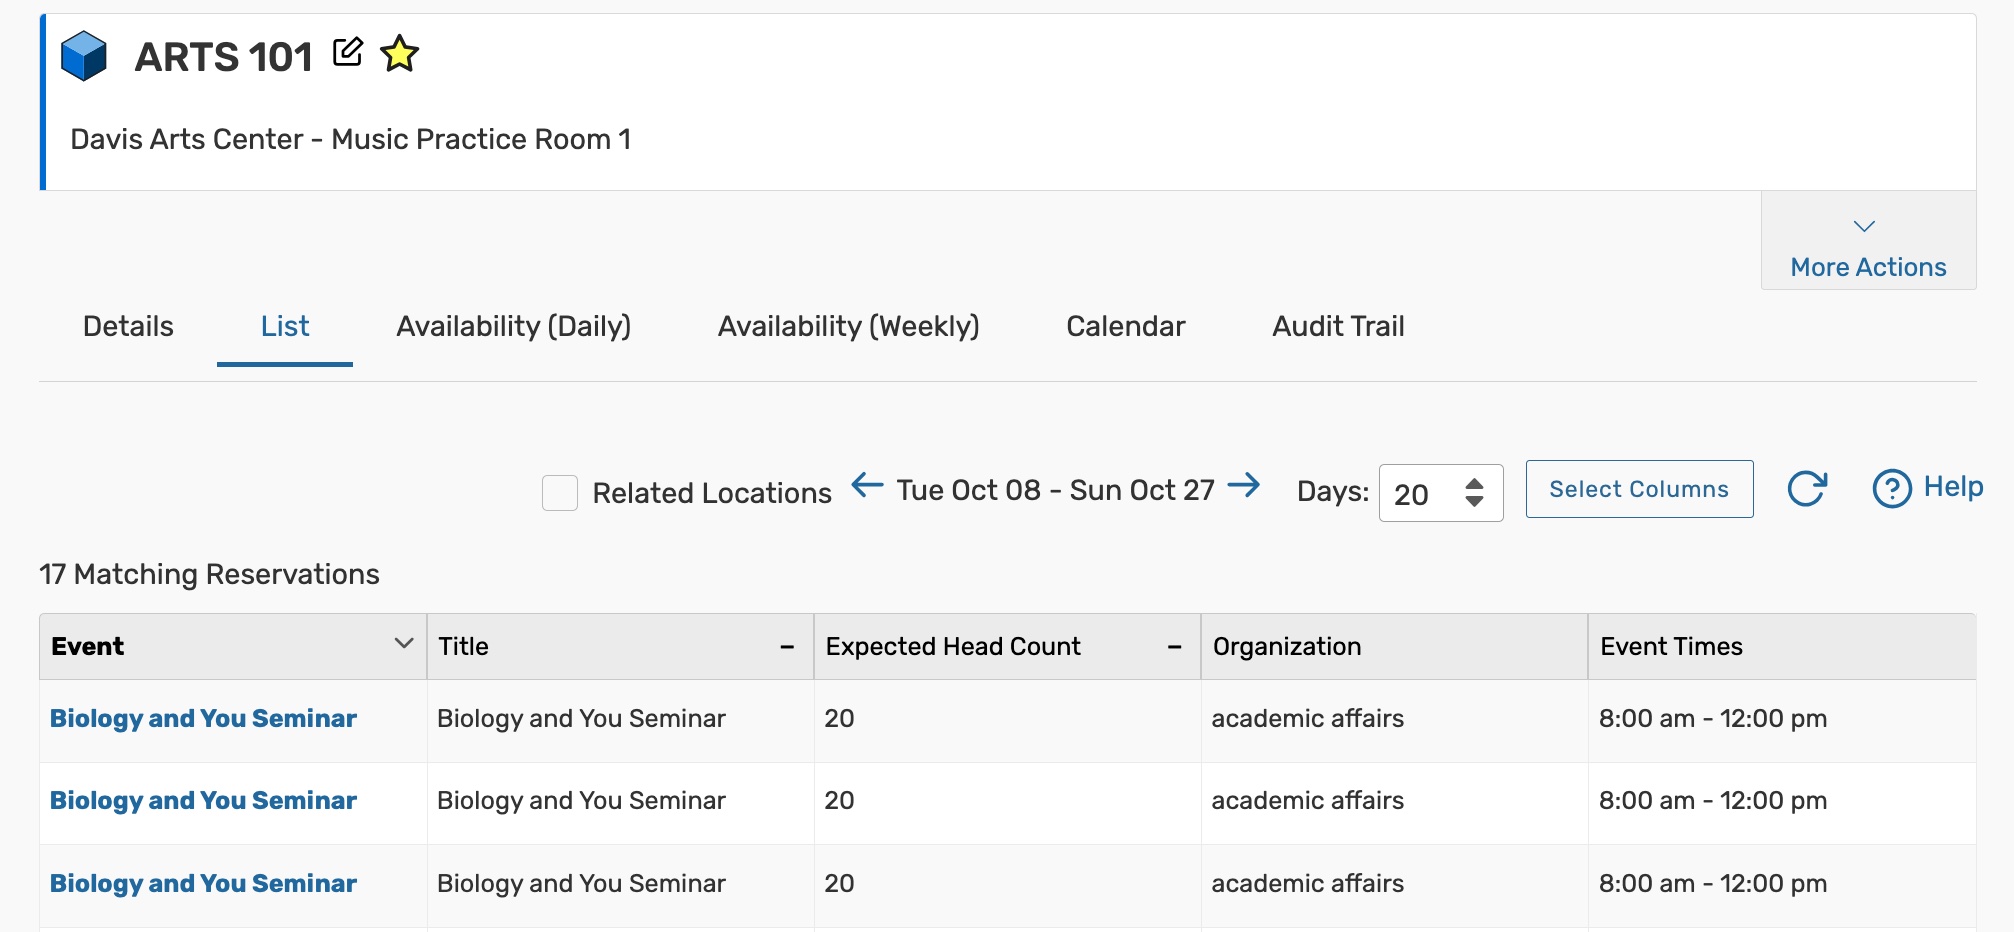 Image: In this example, the List view shows 17 reservations that take place in Arts 101, between October 8th and October 27th.
Search List
Get to this view by running a search from the Search page and scrolling down to the results. The List view is the default view for the results.
Unlike the default List view, searches do not need to be saved to use this view.
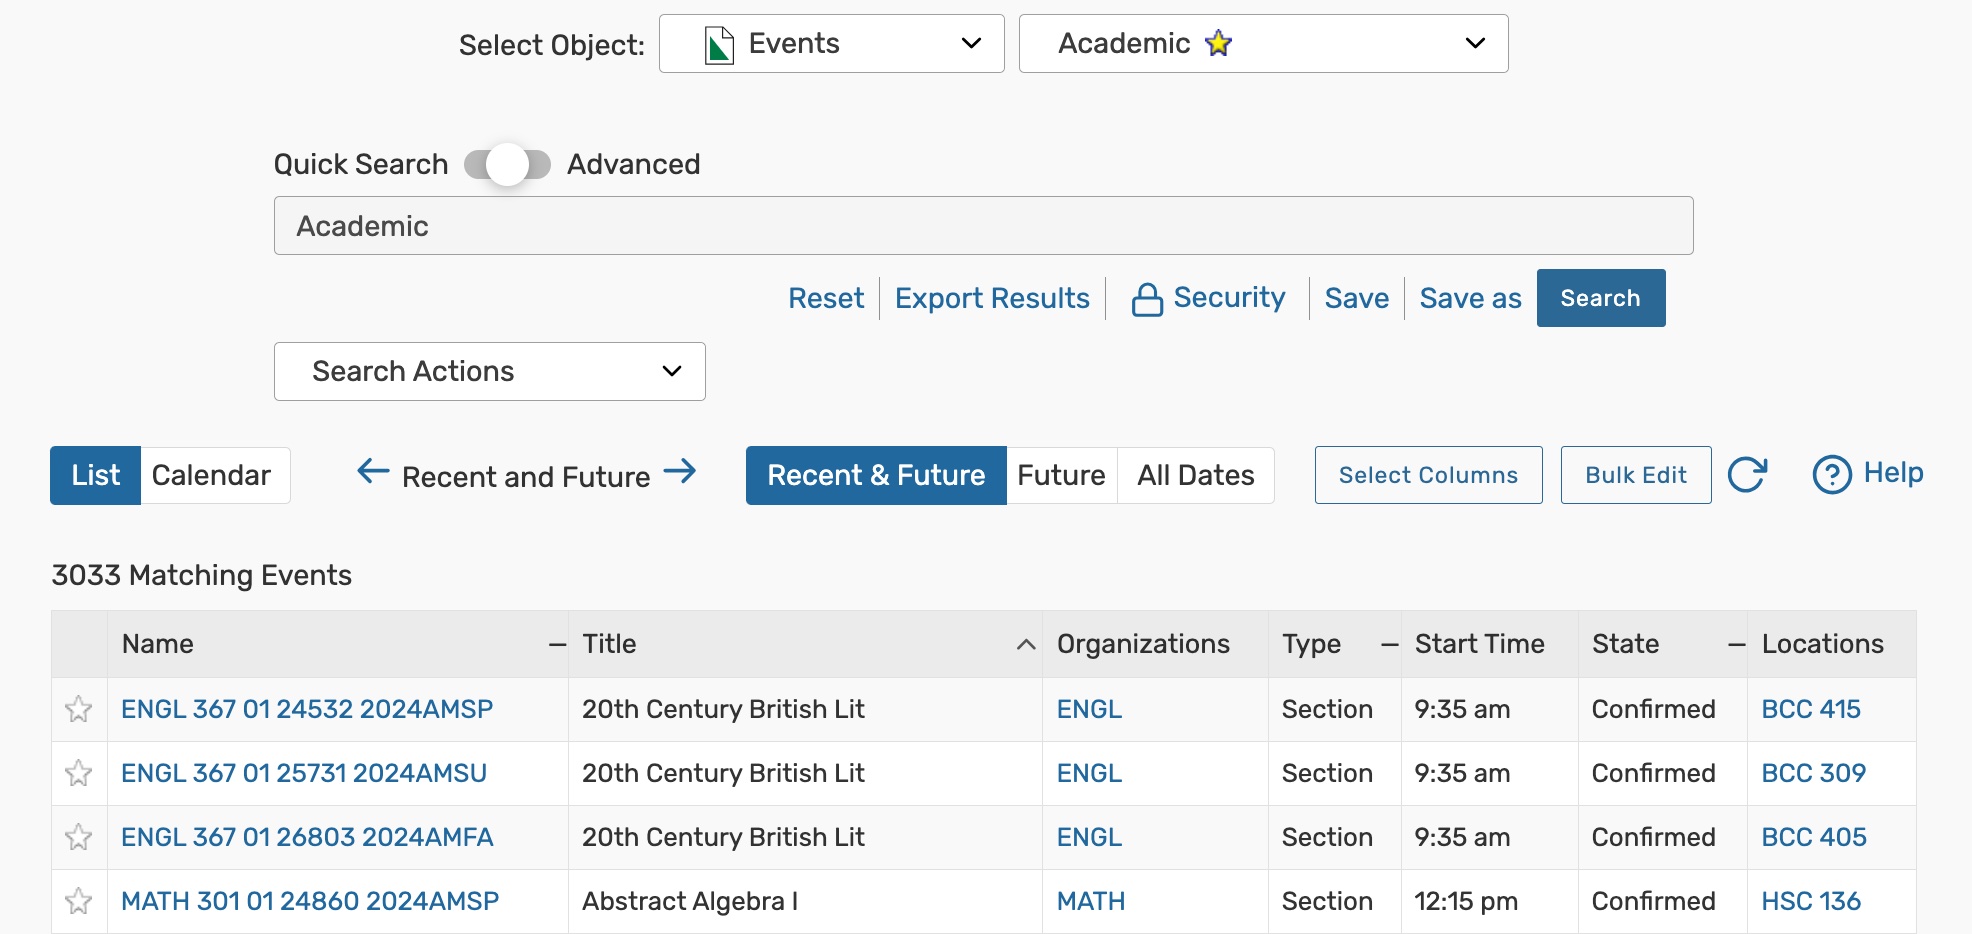 Image: In this example, the List view shows 3,033 events that were returned after running an event search named "Academic".
Some search List controls are described in the section below, but for more detailed descriptions on using search pages, please see our articles on Quick Searching and Advanced Searching.
Using the List Controls
Please note that some of the buttons, dropdowns, and other controls described below are not available on every List page. What you see will depend on where you are in the application. For more comprehensive explanations of the controls on Search pages, please see our articles on Quick Searching and Advanced Searching.
Sorting Lists by Column
Many columns in the list table can be used to sort results. Sortable columns will have a dash symbol to the right of the header. Columns that are currently determining the sort order will have an arrow. Click the arrow to toggle the sort order between ascending and descending.
 Image: Columns that can be sorted will have a dash symbol. When the table is being sorted by a specific column, the symbol will switch to a caret.
Updating the Days Displayed
Increase the number of days displayed by choosing a value from the Days dropdown. To move the dates forward or backward, use the arrow buttons, or click on the date text to open the calendar picker.
 Image: You can move the displayed timeframe forward and backward using the arrow buttons or change the range by clicking on a date.
Adding and Removing Columns From View
Click or tap the Select Columns button to adjust which columns are displayed on the table.
 Image: Use the Select Columns button to hide/display columns on the table.
Refreshing the Results
If any changes have been made that now meet or no longer meet the list criteria, press the refresh button to update the results.
 Image: Press the refresh button if recent changes are missing from the list.
Displaying Related Locations
Select the Related Locations checkbox on location lists to display events that take place in a related location. Related locations are configured in the Related Spaces section of the location Details.
 Image: Check the box to see related locations in the list results.
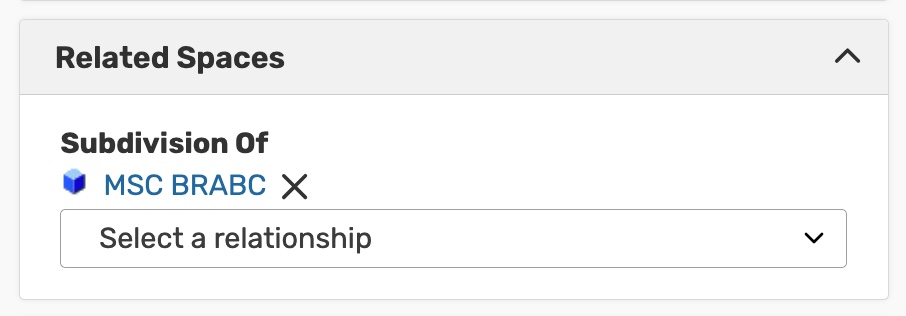 Image: Example of the Related Spaces section in the location Details.
Viewing Additional Details
Click on the names of events, locations, resources, and other objects to go to each item's Details view.
 Image: Blue text indicates a link to another page in 25Live.